
Last updated November 16, 2026
 Sweep & inspection
 Caps & crowns
 Flue relining
 Masonry repair
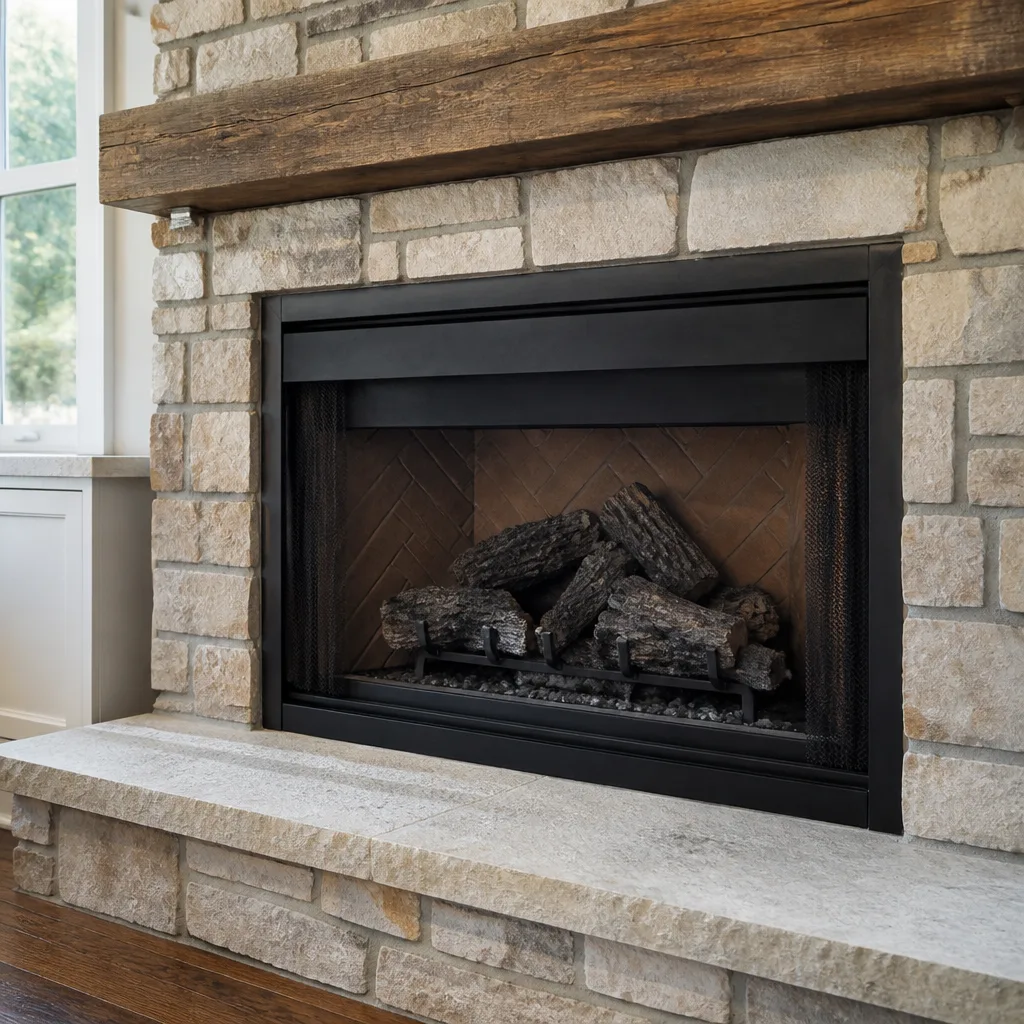 Gas fireplace service
Level 1 sweep and inspection to the NFPA 211 annual standard - flue, crown, cap, and flashing checked and photographed
Chimney sweep logs do not sweep chimneys. They loosen some creosote - which then falls where a brush and vacuum still have to collect it.
Chimney Inspection Maintenance Checklist for Lexington Homeowners
Most chimney inspection checklists hand you a list of Latin-sounding parts with no context. You get “crown, cap, flashing, flue liner” and a box to tick, but nobody tells you what those parts actually do, what failure looks like, or what “we’ll keep an eye on it” really means when your sweep says it. That gap matters. A homeowner who understands the checklist can ask better questions, spot problems between visits, and tell the difference between a real repair and an upsell. This guide walks through every inspection item in plain language, explains what bad looks like from the ground, covers the freeze-thaw damage patterns we see across Lexington, and gives you a realistic maintenance schedule by fuel type and usage. You’ll finish knowing exactly what to record and keep on file.
Quick Answer
A chimney inspection checklist covers three areas: the exterior (crown, cap, flashing, masonry), the interior flue (liner condition, creosote buildup, blockages), and the firebox and damper. In Lexington, the freeze-thaw cycle between December and March does more masonry damage than fire does, so exterior checks matter as much as flue checks. Most wood-burning fireplaces need a sweep and level-one inspection once a year, but the right interval depends on fuel type, how often you burn, and the appliance itself.
Styles & brands we work with
- Sweep & inspection
- Caps & crowns
- Flue relining
- Masonry repair
- Gas fireplace service
Table of Contents
- Crown, Cap, and Flashing: The Three Exterior Parts Homeowners Confuse
- Kentucky Freeze-Thaw Damage: What Spalling and Efflorescence Look Like
- Flue Liner Condition: When a Standard Sweep Should Trigger a Camera Inspection
- The Interior Checklist: Firebox, Damper, Smoke Chamber, and Creosote
- Realistic Maintenance Intervals by Fuel Type and Usage
- What to Record After Every Service Call (and Why It Matters When You Sell)
- Common Mistakes to Avoid
- When to Call a Professional
Crown, Cap, and Flashing: The Three Exterior Parts Homeowners Confuse
These three components sit within a few feet of each other on top of your house, and homeowners mix them up constantly. They do completely different jobs, and they fail in different ways. Knowing which is which makes a conversation with your sweep much shorter.
The crown
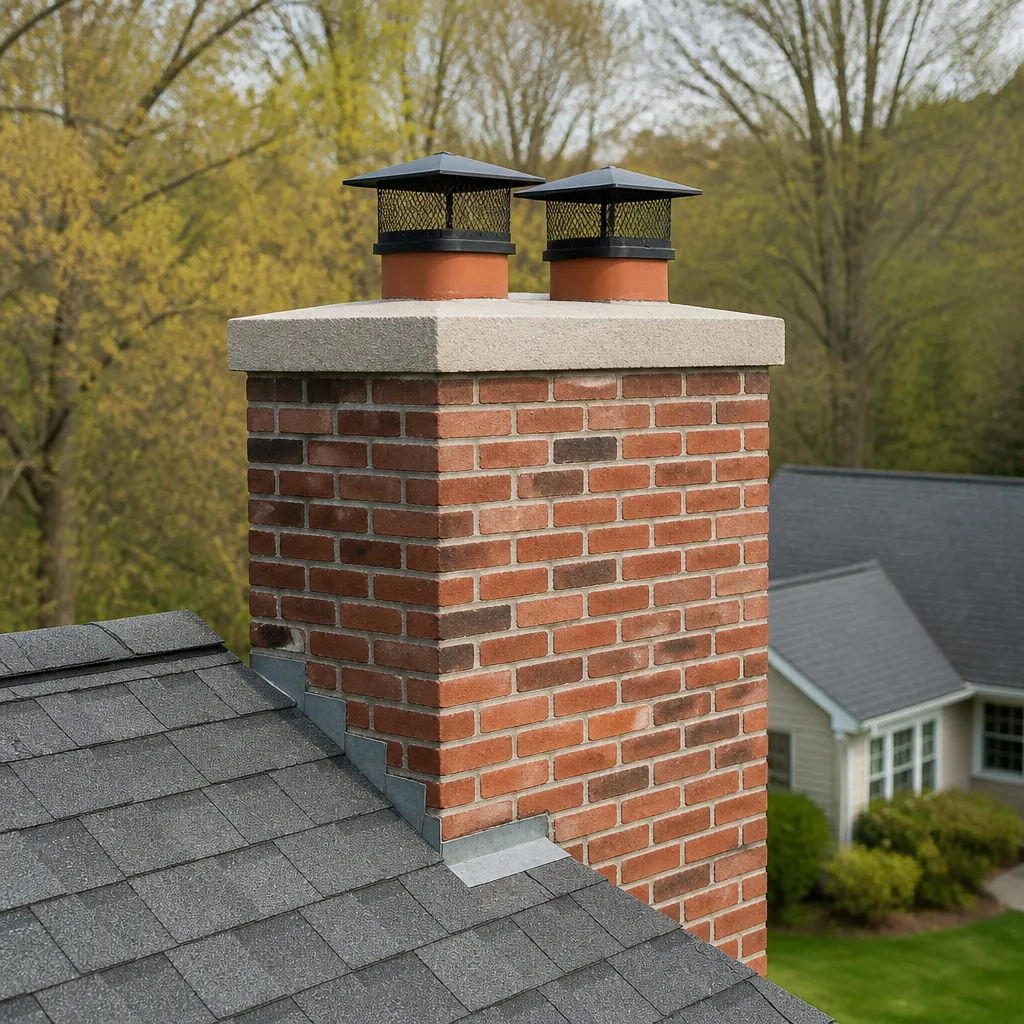
The crown is the concrete or masonry slab that caps the top of the chimney itself, sloping away from the flue opening to shed water. A good crown overhangs the chimney sides slightly so water drips clear of the masonry below. What bad looks like: hairline cracks running across the crown, a crown that has pulled away from the flue, rust stains on the crown surface, or a crown that slopes toward the flue instead of away from it. A cracked crown is one of the most common causes of water getting into a chimney in Lexington, and water damage to the crown is often the beginning of every other masonry problem on this list.
The cap
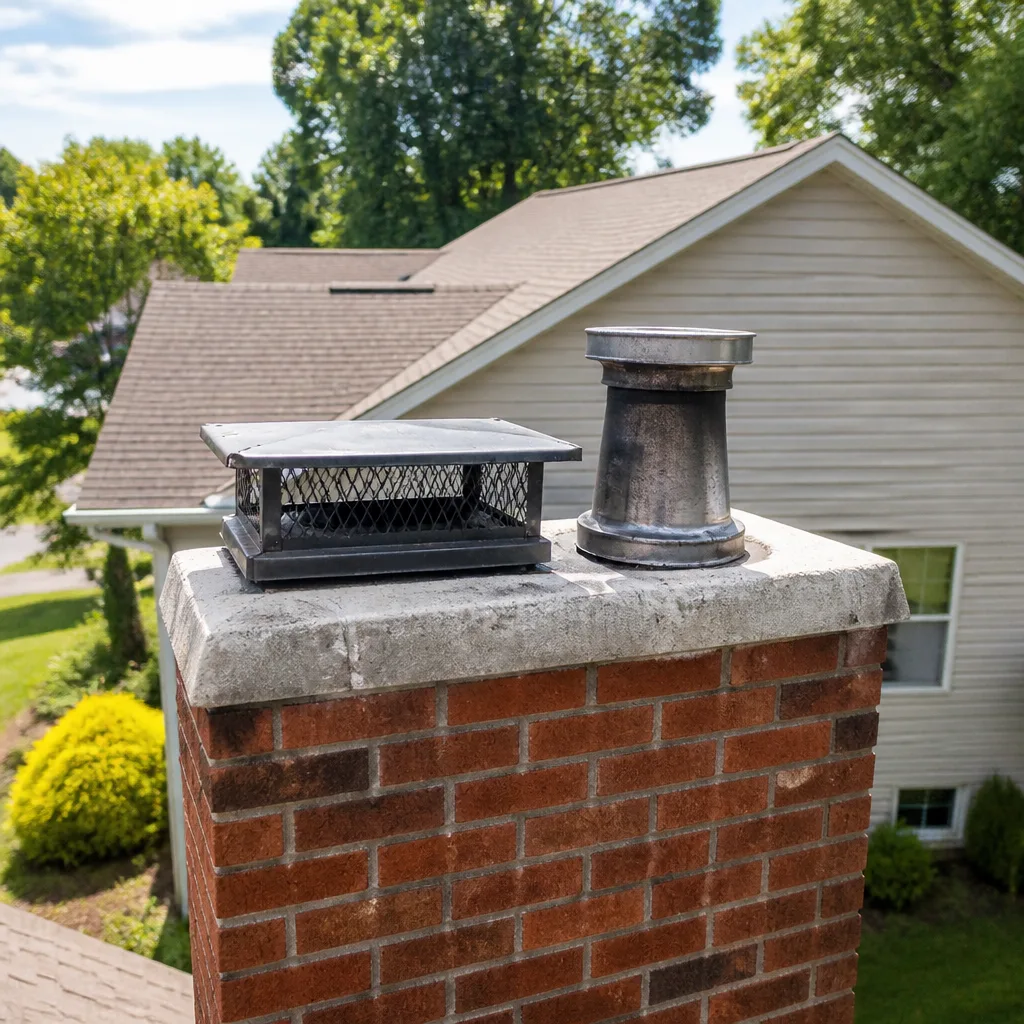
The cap is the metal or masonry cover that sits over the flue opening, usually on legs or a mesh screen, to keep rain, birds, squirrels, and sparks out. A cap is not the same as the crown; the cap sits above the flue, the crown surrounds it. What bad looks like: missing caps (very common on older Lexington homes), rusted-through metal, torn mesh, or a cap that has shifted off-center. A missing cap is one of the cheapest fixes on the entire chimney and one of the most consequential to ignore, because an open flue invites water, animals, and nesting debris.
The flashing
The flashing is the metal seal between the chimney and the roof shingles, bent to shed water down the roof slope instead of into the attic. It fails by pulling away, corroding at the seams, or losing its tar or caulk seal. What bad looks like: a dark stain on the ceiling below the chimney (usually meaning water is already inside), visible gaps between the flashing and the roof, or a rusted stripe running down the shingles. Flashing repair sometimes overlaps with roofing work, so ask your sweep to flag it precisely so you know who to call.
Kentucky Freeze-Thaw Damage: What Spalling and Efflorescence Look Like
Central Kentucky’s winters are the quiet enemy of brick chimneys. Lexington routinely swings above and below freezing within the same week, then back again, all through December, January, and February. Brick is porous. It soaks up melted snow and rain, the water freezes inside the brick overnight, expands, and pushes the surface outward. Then it thaws, and the cycle repeats. Over a few seasons, that freeze-thaw rhythm does more structural damage than fire ever will. Three patterns show up most often.
- Spalling. The face of a brick flakes off, leaving a rough, pitted surface or a small pile of brick fragments on the roof or ground. Look for bricks that look “chewed” compared with their neighbors. Spalling usually starts on the south and west faces in Lexington, where sun melts snow during the day and cold refreezes it at night.
- Efflorescence. A white, powdery stain on the brick surface. It’s salt drawn out by water moving through the masonry. A light dusting is cosmetic. Thick, recurring efflorescence means water is actively moving through the brick, which is the warning sign that matters.
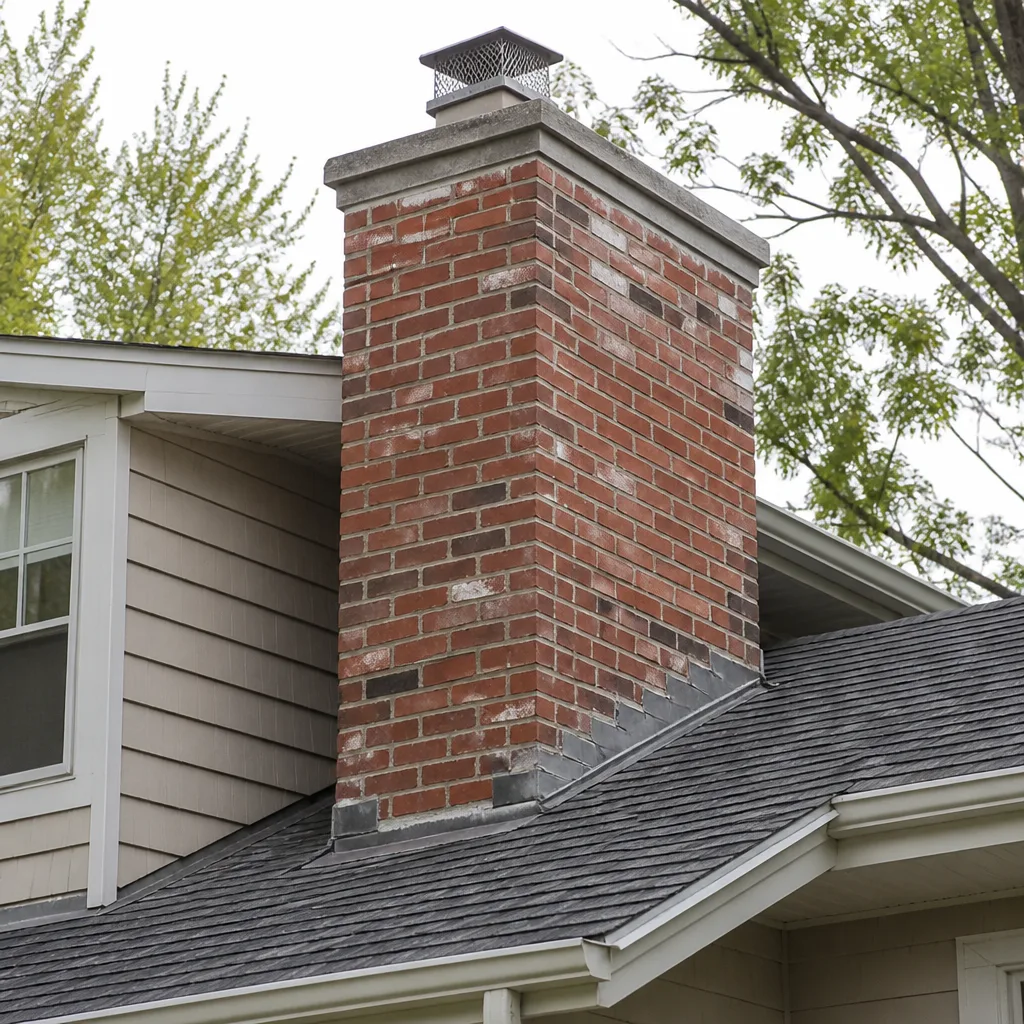
- Mortar joint erosion. The mortar between bricks recedes, so the bricks start to look like a stack of loose tiles rather than a solid wall. Run a finger along a joint at eye level from the ground: if the mortar is soft, crumbling, or recessed more than a quarter inch behind the brick face, the joints need repointing before water gets behind them.
You can spot all three from the ground with binoculars, which is worth doing once each fall before the first hard freeze. If you see fresh spalling or soft mortar, that’s the moment to book a professional inspection, not after the damage has worked its way into the flue. Existing mortar repairs and tuckpointing count as chimney repair work, and they’re part of the same visit as the sweep when the timing lines up.
Flue Liner Condition: When a Standard Sweep Should Trigger a Camera Inspection
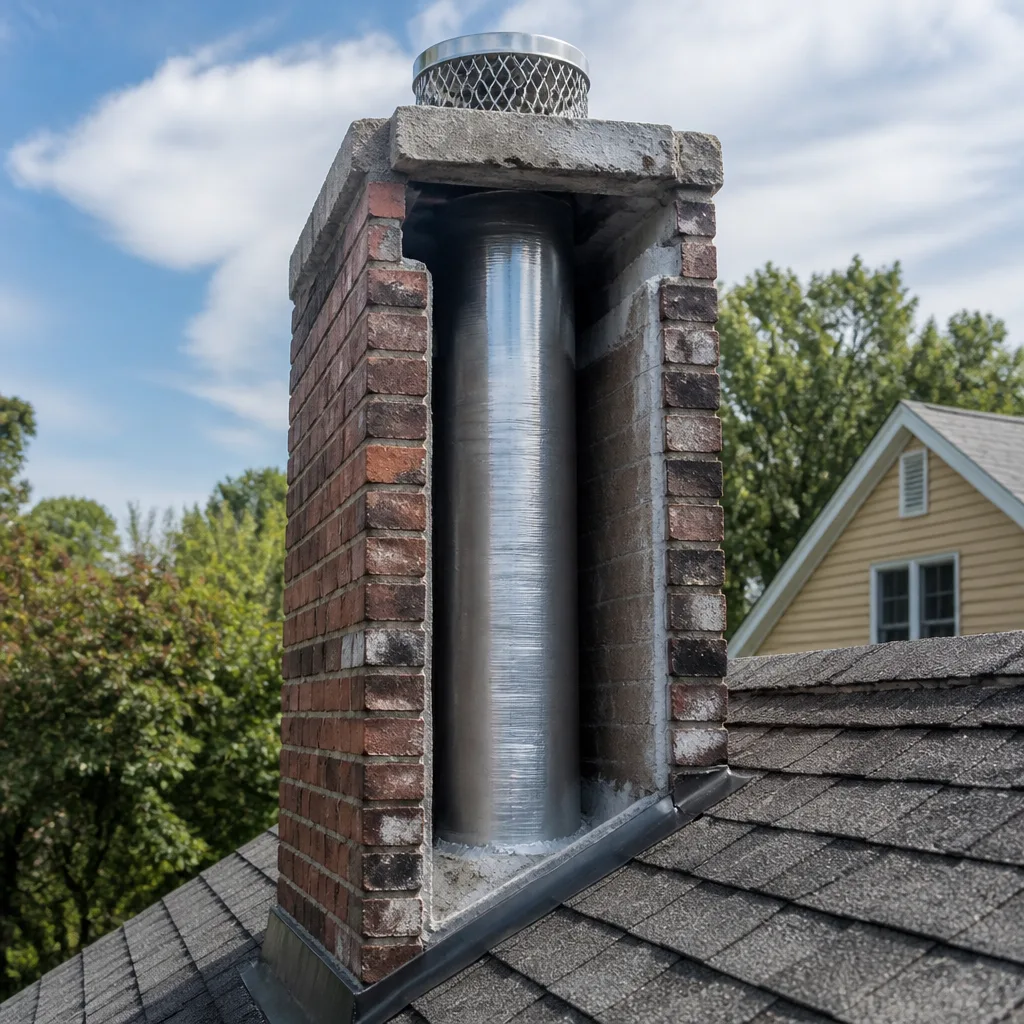
The flue liner is the barrier between the hot gases inside your chimney and the framing of your house. A compromised liner is the single most serious finding on any inspection because it lets heat and carbon monoxide reach combustible material. During a standard sweep, your technician is already looking up the flue with a light and a mirror. Here are the signals that mean a full video camera inspection is warranted rather than a routine “it looks fine.”
- Visible cracks, gaps, or missing mortar in a clay tile liner.
- A liner that has shifted out of alignment or separated at a joint.
- Pieces of tile or mortar found in the firebox or at the bottom of the flue after sweeping.
- A strong, persistent odor of creosote or smoke coming from the fireplace when it isn’t in use.
- Rust or corrosion on a metal liner, which suggests moisture has been present.
- Any change in how the fireplace draws, or smoke spilling into the room when you light a fire.
Camera inspection matters because a mirror and flashlight only see the bottom few feet clearly. A camera run to the top confirms what’s happening above, especially around offsets and the smoke chamber. If the camera confirms a problem, repair options depend on the liner type. A clay tile liner with minor joint issues can sometimes be resurfaced with HeatShield, which smooths and seals the interior without a full tear-out. A failed liner often calls for a DuraFlex stainless system sized to the appliance. Both are professional-grade products installed by trained applicators, not generic hardware-store parts, and that distinction is everything when you’re trusting a liner to contain a chimney fire.
One important safety note: a damaged liner is not a do-it-yourself repair, and no honest sweep will describe one as routine. Carbon monoxide from a failed liner is invisible and odorless, and the fix requires a trained installer working with rated materials. Treat a liner warning as the point to stop burning until a professional has looked at it properly.
The Interior Checklist: Firebox, Damper, Smoke Chamber, and Creosote
The inside of the chimney gets most of the attention during a sweep, and for good reason. A proper chimney sweep covers far more than scrubbing the flue. Use this numbered walkthrough of the interior check items so you know what your technician is looking for.
- Firebox. The firebox is the masonry box where the fire burns. Look for cracked firebrick, crumbling mortar joints at the back and sides, and a fireback that has separated from the side walls. Small hairline cracks in firebrick are common in older Lexington homes and can usually be repointed. Deep cracks that expose the brick behind the firebrick need attention before the next fire.
- Damper. The damper is the metal door above the firebox that controls airflow. It should open and close smoothly and seal reasonably well when closed. A damper that sticks, won’t fully open, or leaves a gap when closed affects both smoke draw and how much heat escapes the house between fires.
- Smoke shelf and smoke chamber. These sit just above the damper and guide smoke up into the flue. They collect soot and creosote on their angled surfaces, and the surfaces are often rough, which means they need a specific scraping during the sweep. Rough or coated surfaces here cause draft problems more often than people realize.
- Creosote. Creosote builds in three stages: light soot, glazed creosote, and hard, tarry glaze. Glazed creosote is the one that fuels chimney fires. A sweep can clear light deposits with normal brushing. Glazed creosote usually needs a chemical treatment to soften it before it can be removed, which is a separate step from the brush.
- Flue and cap connection. The top of the flue and the cap should seal cleanly against each other. A loose cap on a windy day lets debris and water into an otherwise clean flue.
- Draft check. A quick smoke or draft test confirms the chimney is pulling correctly before the technician leaves. If it isn’t, the cause is usually a blockage, a liner issue, or a house-pressure problem.
Each of these is a straightforward visual check for a trained eye, but it’s the combinations that matter. A clean flue with a cracked firebox and a bad damper isn’t really “clean”; it’s just clean in one place.
Realistic Maintenance Intervals by Fuel Type and Usage
The blanket “sweep once a year” rule works for most homes, but it’s not the real answer for every home. A wood stove burned hard in a Lexington winter needs a different schedule than a gas fireplace used for ambiance a few evenings a month. Here’s how the intervals actually break down by appliance and fuel type.
| Appliance / Fuel Type | Typical Usage | Suggested Sweep / Inspection Interval |
|---|---|---|
| Wood-burning fireplace | Frequent (several fires a week in winter) | Sweep and inspect annually, ideally in late summer or early fall before the burning season starts |
| Wood-burning fireplace | Occasional (a few fires a season) | Inspect annually; sweep as needed based on creosote buildup |
| Wood stove or insert | Primary heat source / burned daily | Sweep and inspect annually, plus a mid-season check if usage is heavy |
| Wood stove or insert | Supplemental heat (weekends and cold snaps) | Annual sweep and inspection |
| Gas fireplace (vented) | Any | Inspect annually; cleaned as needed for debris, spiders, and pilot or burner issues |
| Gas fireplace (ventless) | Any | Inspect and clean per manufacturer recommendation, often more frequently than a vented gas unit |
| Pellet stove | Any | Annual service; vent and exhaust check each season |
Two things to remember when reading this table. First, “annual” means a sweep and an inspection, not one or the other. The inspection is what catches the crown cracks and liner issues; the sweep is what clears the flue. Second, if you ever burn unseasoned wood or see glazed creosote during a sweep, shorten your interval. Creosote buildup is the single best reason to move to a more frequent schedule.
Timing matters as much as frequency in Lexington. Book the sweep in late summer or early fall before the first cold snap, when everyone in town suddenly wants an appointment. Getting on the schedule early avoids the peak-season rush and means you’ve verified the chimney is safe before you actually need it.
What to Record After Every Service Call (and Why It Matters When You Sell)
This is the part almost every chimney checklist skips, and it’s the part that pays off years later. Every service visit produces documentation you should keep. It protects you if a future inspection finds a problem (you can show when it started), and it becomes part of your home’s maintenance history if you sell. Buyers and their inspectors ask for this. Having it ready shortens the conversation dramatically.
Keep a simple folder, physical or digital, and record the following after each visit:
- Date of service and the type of visit (sweep, inspection, repair).
- Technician’s name and the company that performed the work, with contact information.
- Findings written in plain language. Ask your technician to describe what they saw, in everyday terms. “Crown has two hairline cracks, repoint at next visit” is more useful than a circled number.
- Photographs taken during the inspection, especially of any defect spotted. Ask for them; a camera inspection should always produce a photo or video record.
- Materials and products used. If a repair was made, note the product name and type. The professional-grade brands used in chimney repair (HeatShield, DuraFlex, Gelco, Olympia Chimney and similar) all leave a paper trail, and that trail matters if you ever need to refer to the work.
- Any recommendation to monitor, revisit, or repair. Write down exactly what was flagged, and when the sweep suggested looking at it again.
- Invoice and written estimate for any repair, showing the agreed scope and the final price.
Store these alongside your home maintenance file with your HVAC and roof records. A chimney file that shows a sweep, a crown repair, and a documented liner check tells a future buyer that the chimney was cared for, which is the kind of paper trail that supports your sale price.
Common Mistakes to Avoid
We’ve walked into enough Lexington homes to know where the checklist conversations go wrong. Here are the mistakes we see most often, and how to sidestep each.
- Confusing the cap and the crown. Homeowners ask to “replace the crown” when they mean the cap, or vice versa. The crown is the masonry slab; the cap is the flue cover. Getting the terms straight saves you from buying the wrong fix and paying twice.
- Burning unseasoned wood because it’s cheap and local. Green wood produces far more creosote than seasoned wood. In a cool Kentucky winter, that creosote glazes quickly. Ask for seasoned wood and store it dry.
- Skipping the inspection because the flue “looks clean.” A clean flue tells you nothing about the crown, the liner, the flashing, or the firebox. The sweep and the inspection are two different things; don’t accept one as a substitute for the other.
- Ignoring mortar joint erosion because it “looks old.” Receding mortar is a warning, not a cosmetic quirk. Once water gets behind eroded joints and freezes, brick spalling follows. Repointing early is far less expensive than rebuilding later.
- Booking the sweep the week you want to use the fireplace. In Lexington, everyone calls in the first cold week of October and the calendar fills. Book late summer and save yourself the scramble.
- Not asking for photos. A photo report costs nothing extra and turns “we’ll keep an eye on it” into a documented record. If a technician can’t show you a photo, they can’t show you the defect.
- Letting an unlisted contractor touch the liner. Liner work requires rated materials and trained installation. A general handyman shouldn’t be resurfacing or replacing a liner any more than they should be doing gas line work.
When to Call a Professional
Some of this checklist you can run through yourself from the ground. Some of it needs a trained eye and a camera. The line is clear: anything involving the flue liner, the firebox, gas connections, or moving parts on a wood stove belongs to a professional. Call right away if you notice any of these warning signs.
- A strong, ongoing creosote or smoke smell coming from the fireplace when it isn’t in use.
- Smoke spilling into the room when you light a fire, or a fire that won’t draw.
- Visible cracks, gaps, or missing mortar in the firebrick lining.
- Fresh spalling, crumbling mortar joints, or a crown that looks cracked or loose.
- A damper that sticks, won’t open, or won’t close fully.
- Signs of water inside the chimney or dark stains on the ceiling near the stack.
- Any gas fireplace concern at all: gas flames, pilot issues, and burner problems always call for a licensed professional, not a look-over.
If you’re not sure whether your concern is a real problem or just normal wear, a professional inspection settles it. Lexington Chimney Cleaning offers free estimates in Lexington, and a sweep that finds a problem doesn’t need a second company to fix it. Call (833) 946-8918. We answer 24/7. Fast dispatch from 7am to 7pm, Sunday through Friday.
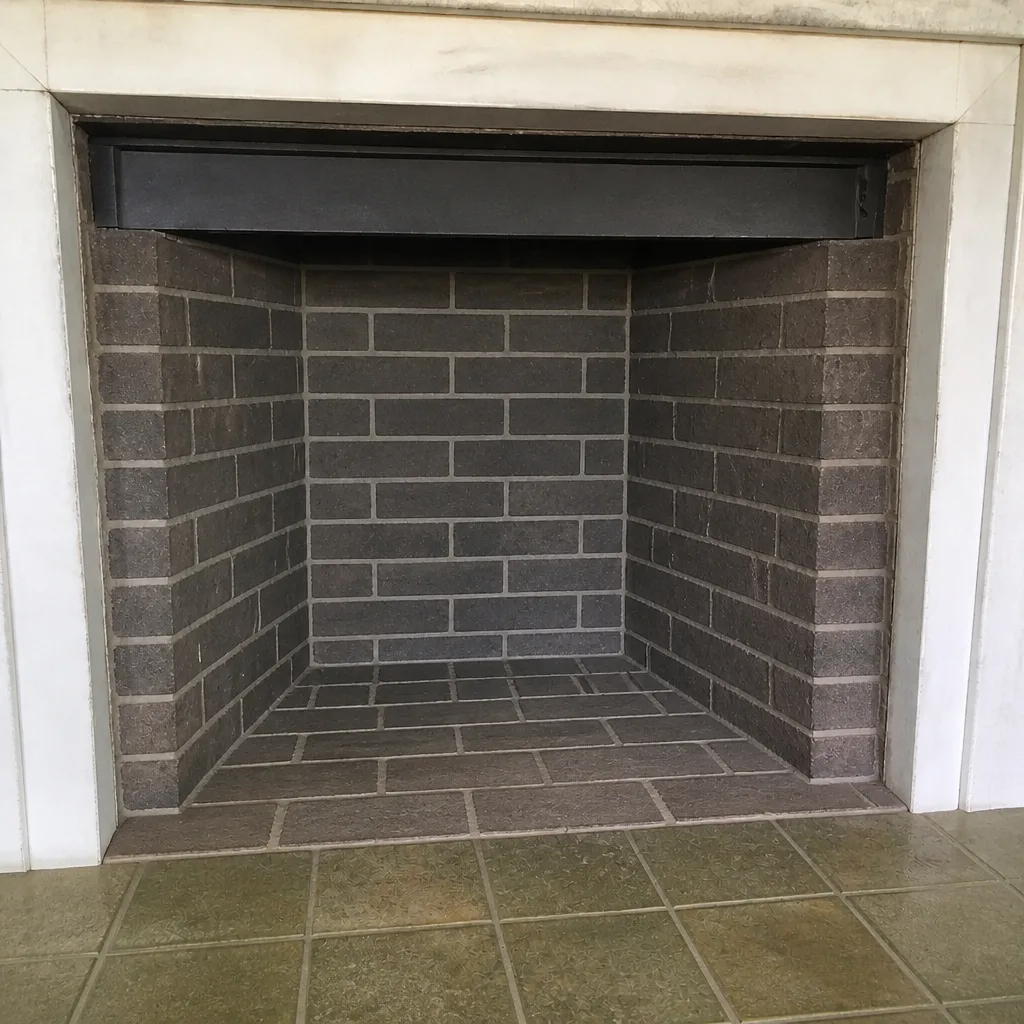
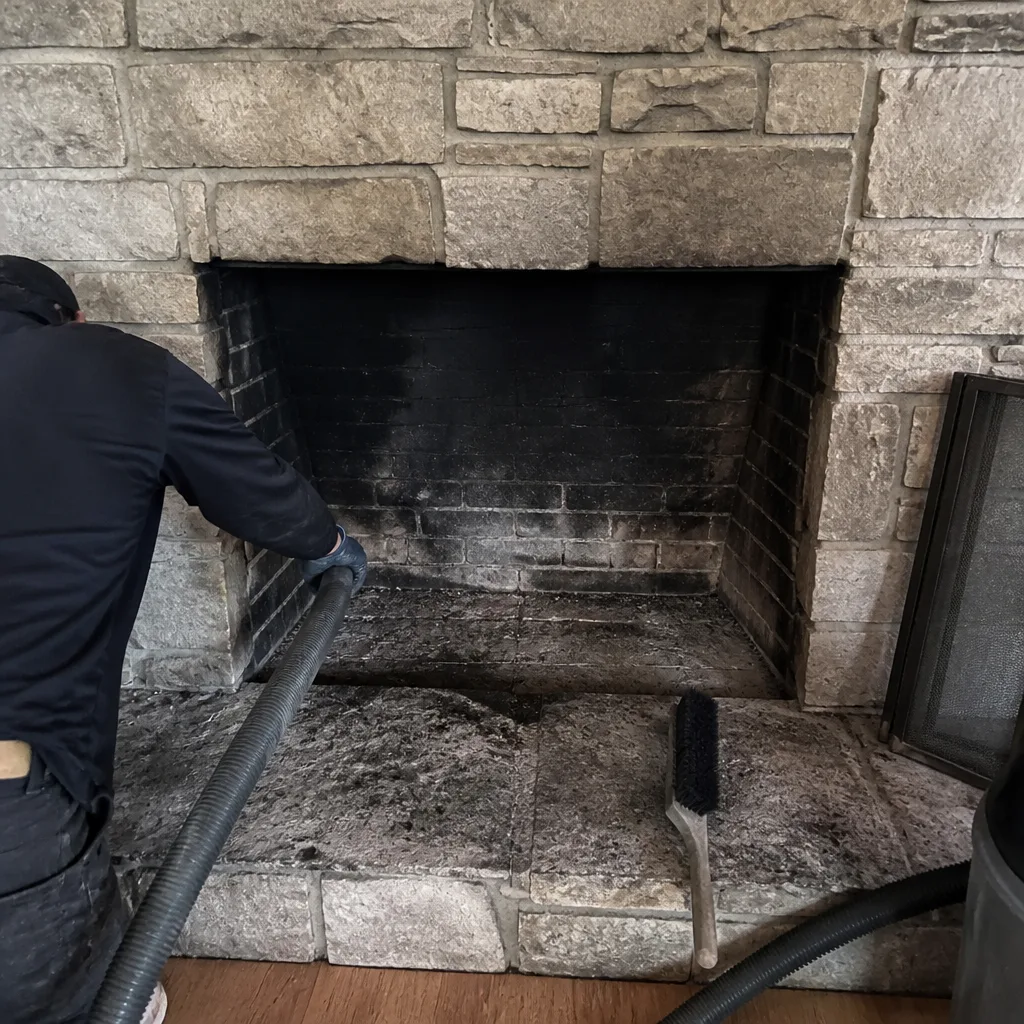
See the difference
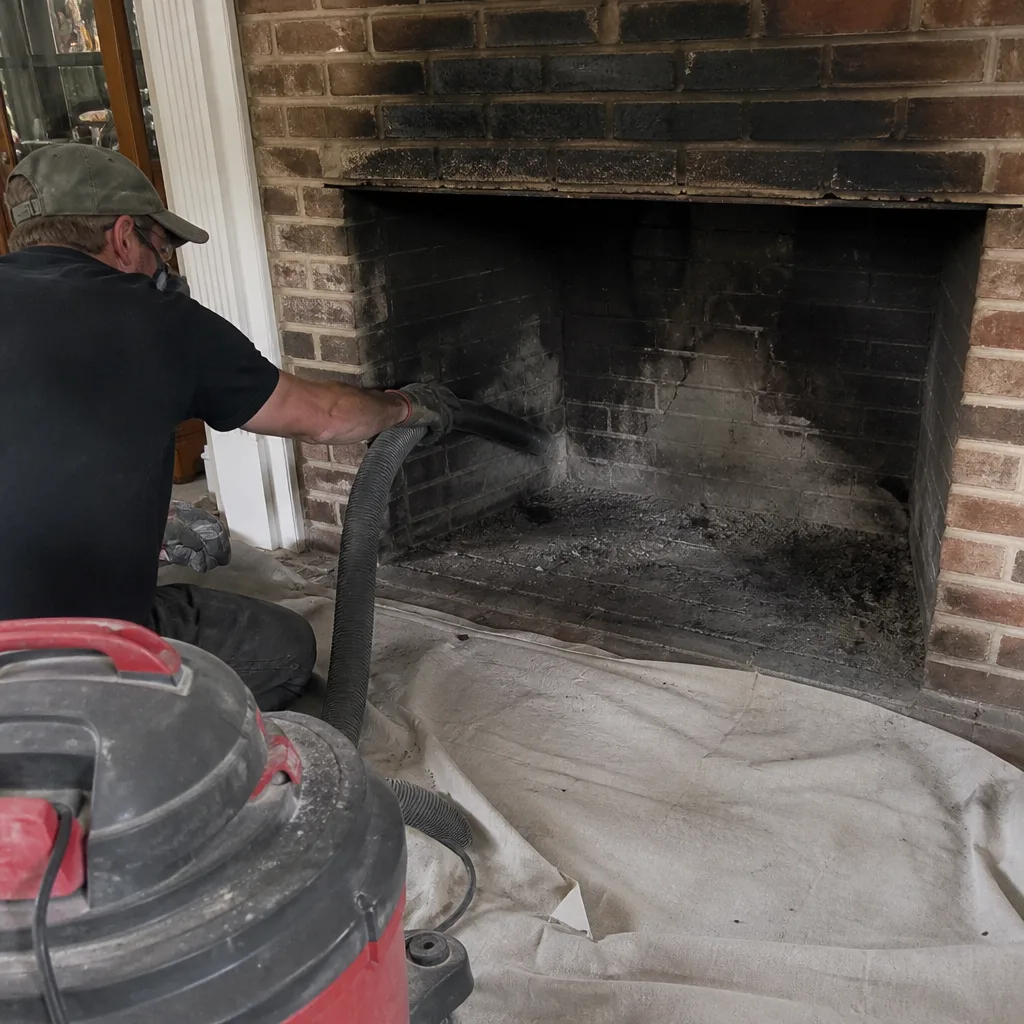 Before
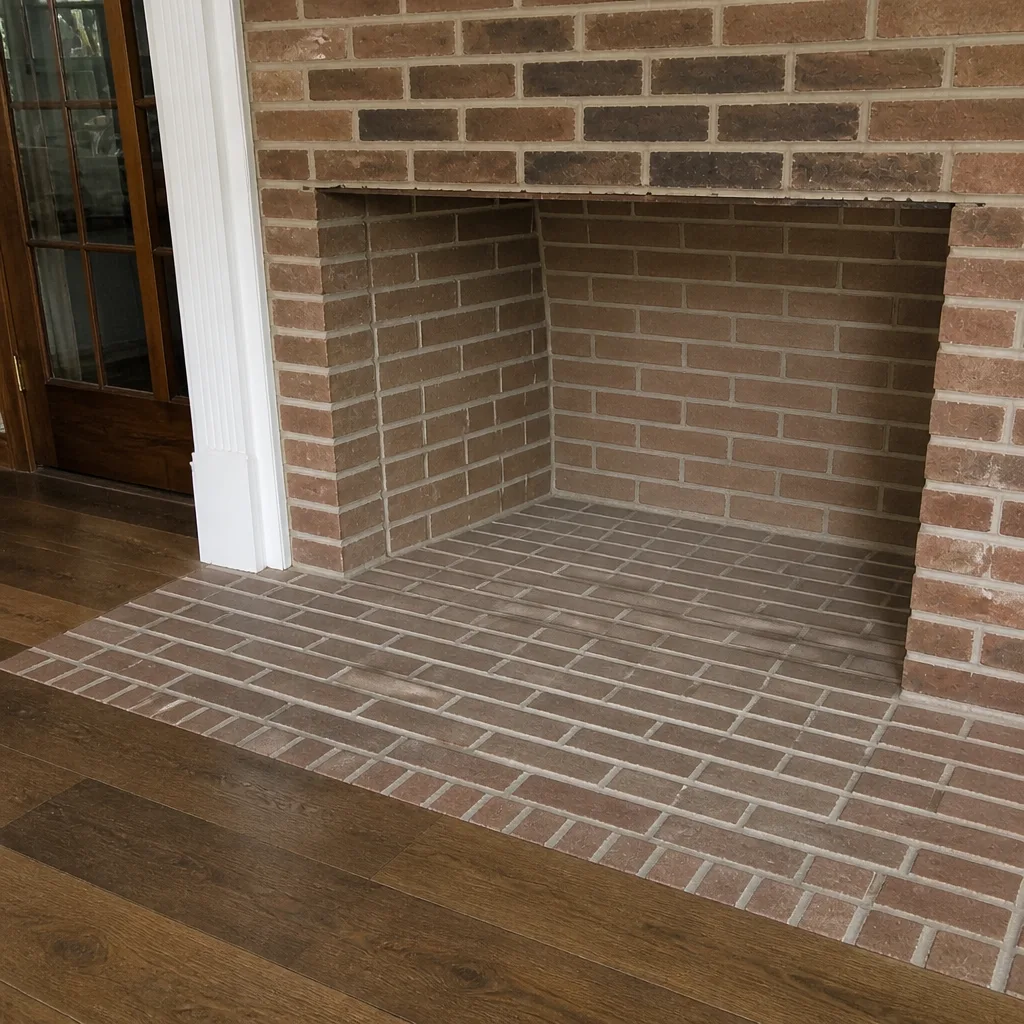 After
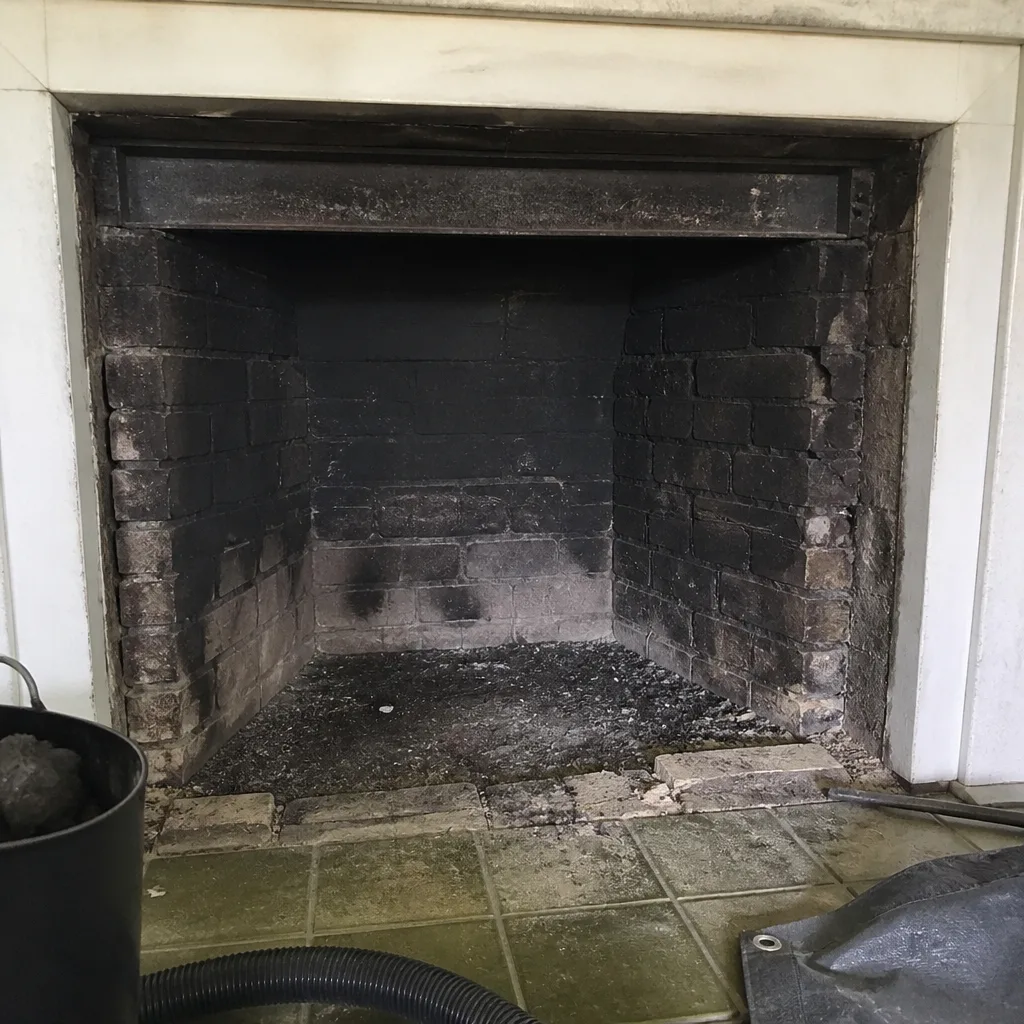 Before
 After
 Before
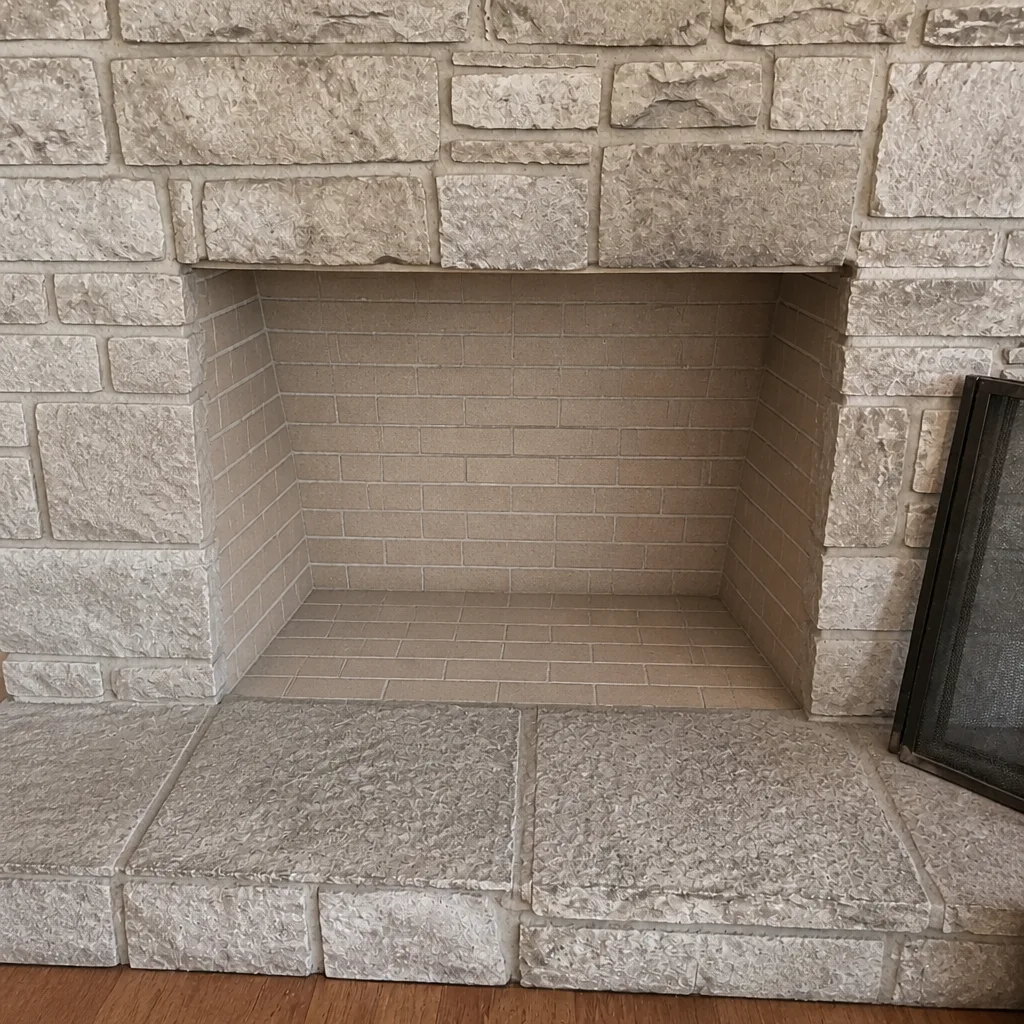 After
Frequently Asked Questions
Most wood-burning fireplaces and stoves in Lexington should be swept once a year, ideally in late summer or early fall before the burning season. If you burn daily or see glazed creosote, a mid-season check is worth it.
A camera inspection is needed when a standard sweep turns up a signal: visible cracks, missing mortar, loose tile, or a persistent draft problem. If those signs are absent and a light-and-mirror look is clear, a full camera run isn’t always necessary, but ask your technician to explain why.
A standard sweep and level-one inspection is typically quoted per job after the chimney is assessed. The written estimate sets the final price, and any repair found during the sweep is quoted separately so you see the scope before work begins.
A cracked crown is a water problem, not usually an immediate fire risk, but it should be repaired before the next freeze to prevent further damage. Get it inspected before winter; if the crack is small, it may be a minor seal repair rather than a replacement.
A sweep clears creosote and soot from the flue and firebox. An inspection checks the condition of the crown, cap, flashing, liner, firebox, damper, and smoke chamber. You should have both each season; one does not substitute for the other.
A visual sweep can flag the signals: cracks, shifting tiles, mortar gaps, rust, or debris. Those signals are what warrant a camera inspection, which confirms whether the liner needs repair or replacement. Repair options like HeatShield resurfacing or a DuraFlex stainless liner depend on what the camera shows.
The Bottom Line
A chimney checklist is only useful if you understand it. The crown sheds water, the cap keeps rain and animals out, and the flashing seals the roof connection; keep those three straight and the exterior inspection makes sense. The flue liner is your safety barrier, and any sign of cracks or shifting should stop a fire until a professional confirms the flue is safe. In Lexington, freeze-thaw cycles cause more masonry damage than most homeowners expect, so exterior checks each fall matter as much as the sweep. Keep records of every visit, use realistic intervals by fuel type, and book before the cold snap. Call (833) 946-8918 for a free estimate. We answer 24/7. Fast dispatch from 7am to 7pm, Sunday through Friday.
Written by the team at Lexington Chimney Cleaning.